
Common shoe cleaning mistakes you should stop making now | Guide by SHOEGR
We’ve all been there—your favorite sneakers are looking rough, covered in dirt, with soles that have seen better days. You’re tempted to grab whatever cleaner is under the sink and start scrubbing. But hold up!
Proper sneaker cleaning isn’t just about looking fresh—it’s about extending the life of your kicks and preserving their quality.
But even the most seasoned sneakerhead can make a few cleaning blunders. So, let’s dive into the top mistakes you need to avoid—straight from the SHOEGR playbook.
Mistake #1: Using harsh cleaners
One of the biggest and most damaging sneaker cleaning mistakes people make is using harsh household cleaners like bleach, laundry detergent, or multi-surface sprays.
It might seem like a quick fix—after all, if it can clean your floors or bathroom tiles, it should work on shoes, right? Wrong. These products are way too aggressive for sneaker materials and can cause serious damage. Damage that’s often irreversible.
Here’s what can go wrong:
- Discoloration: That crisp white canvas can quickly turn yellow, and colored fabric may fade or blotch.
- Cracking: Leather and faux leather can dry out and crack, especially if the cleaner strips away protective oils.
- Weakened materials: Glue and stitching can deteriorate, leaving your sneaker falling apart way sooner than it should.
What should you do instead?
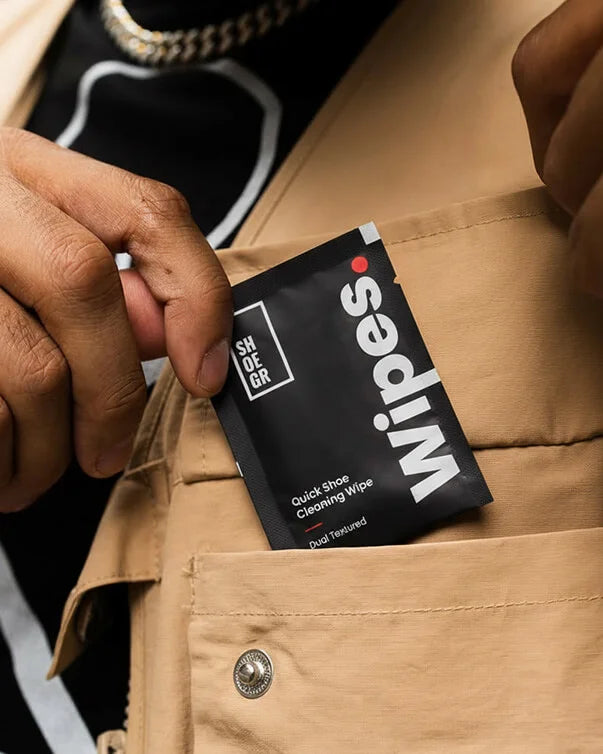
To protect your sneakers and keep them looking fresh, always use a specially formulated sneaker cleaner - something made to be tough on dirt but gentle on materials.
Here’s how to do it right:
- Use a trusted sneaker cleaner. These products are designed to work safely on a variety of materials, including mesh, canvas, and knit.
- Pair it with the right shoe cleaning brush - soft bristles for delicate uppers, medium for midsoles, and hard for the outsole.
- Apply the cleaner as directed, scrub gently, and wipe with a clean micrifiber cloth.
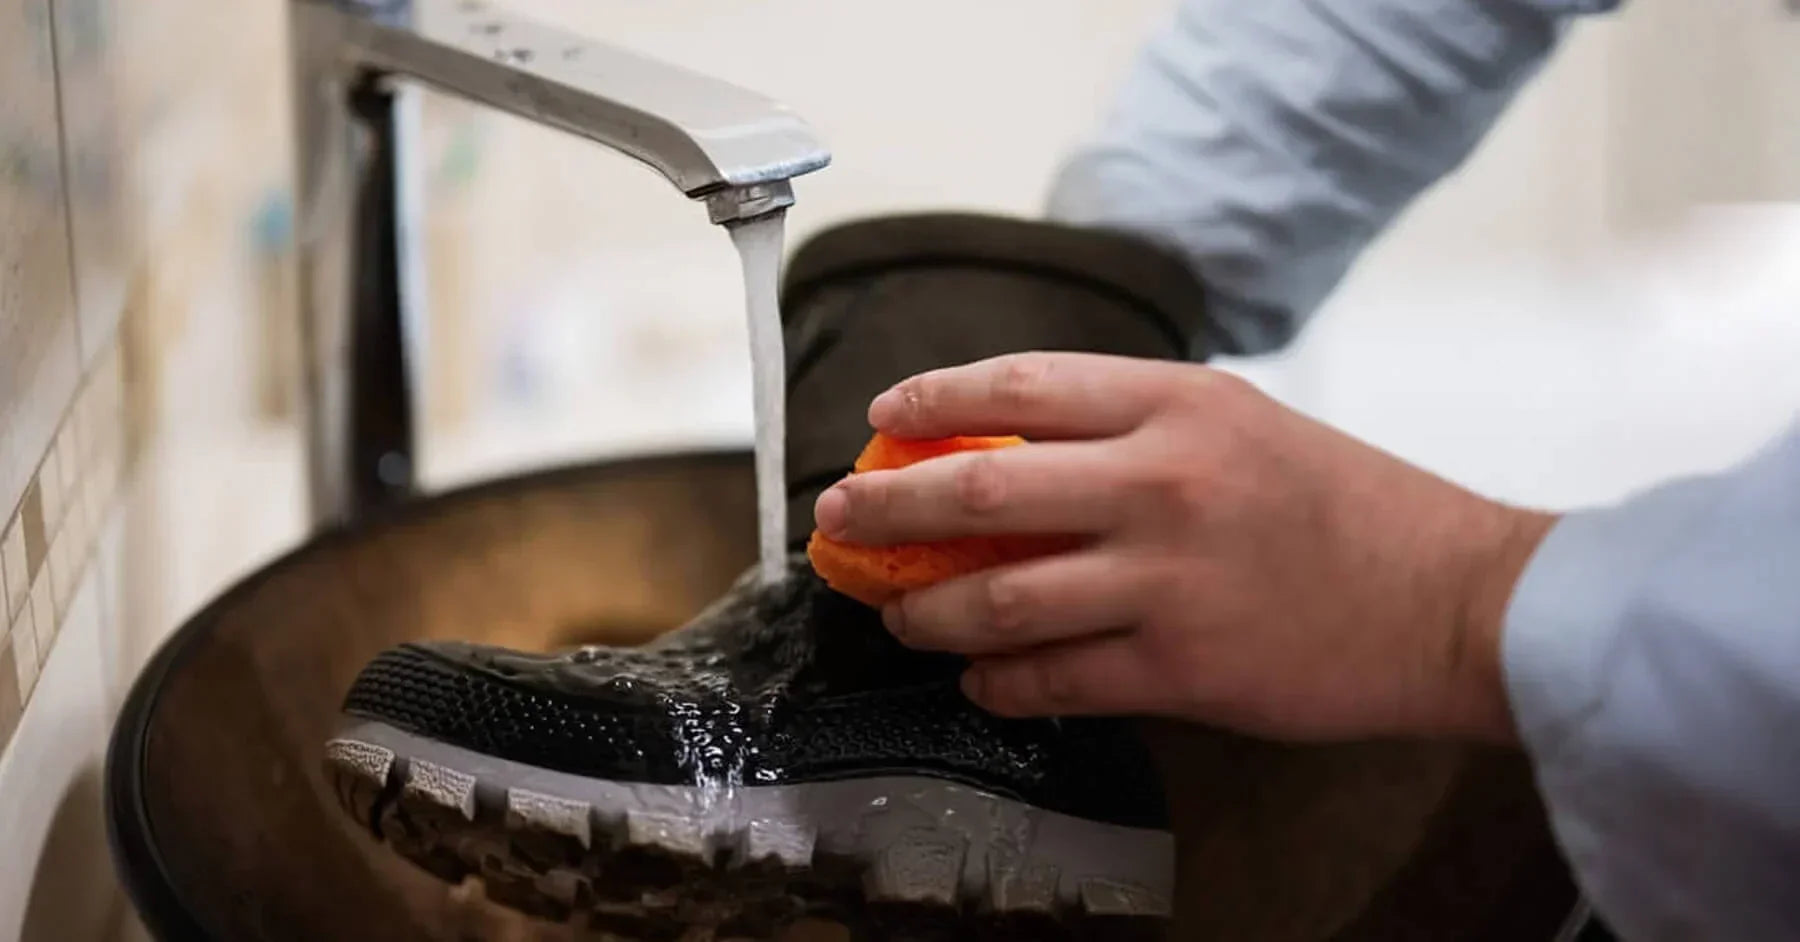
Mistake #2: Ignoring the soles
When most people clean their sneakers, they focus on the upper—the part everyone sees. But here’s what often gets overlooked: the soles and the hidden spots under the laces.
These areas are dirt magnets. They pick up mud, grime, and evryday wear far more than you think. Over time, that buildup doesn't just make your sneakers look worn - it actually affects the overall look and feel of your shoes.
Why does sole cleaning matter?
- Dirty soles can make even a freshly cleaned upper look tired and worn out.
- Grime under the laces can lead to odors, bacteria buildup, and even fabric discoloration.
- Cleaning these hidden areas gives your sneakers that “brand new” energy—top to bottom.
How to clean it right:
- Start by removing the laces to expose the tongue and eyelets - these areas trap dust and sweat.
- Use a shoe cleaning brush to scrub the tread and sidewalls of the sole.
- For tougher grime, apply a few drops of sneaker cleaner and work it in with circular motions.
- Wipe clean with a microfiber cloth and admire the difference.
Mistake #3: Neglecting to condition
You wouldn’t wear a leather jacket for months without conditioning it, right? Same goes for your leather and suede sneakers—they need regular care to stay looking fresh and feeling great.
One of the most overlooked steps in sneaker care is conditioning. A lot of people stop after cleaning, but if you skip conditioning, you’re leaving your shoes vulnerable to cracking, drying out, and losing their original look.
Why does conditioning matter?
- Leather and suede are natural materials that dry out over time, especially after cleaning.
- Without moisture and nourishment, they become brittle, dull, and prone to cracking.
- Conditioning helps preserve flexibility, texture, and color, so your sneakers last longer and stay premium.
How to condition your sneakers properly?
1. Clean first. Make sure your shoes are free of dirt and complete dry.
2. Choose the right conditioner
- For leather: Use a high-quality leather cream or balm designed specifically for footwear.
- For suede: Use a suede-specific conditioner or revitalizing spray-avoid liquid products that can cause staining or dark spots.
3. Application:
- Apply a small amount of conditioner to a microfiber cloth or soft sponge.
- Gently massage it into the surface using small, circular motions.
- Let it absorb for a few minutes.
- Buff off any excess with a clean cloth for a smooth, even finish.
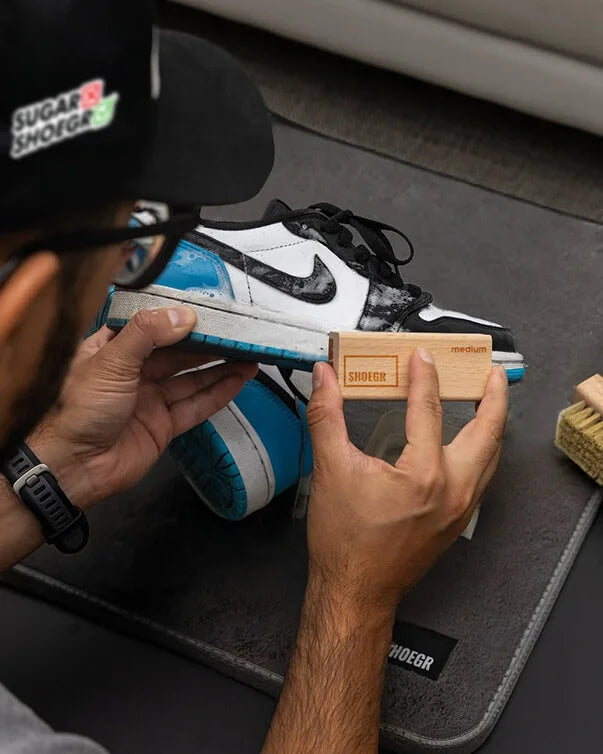
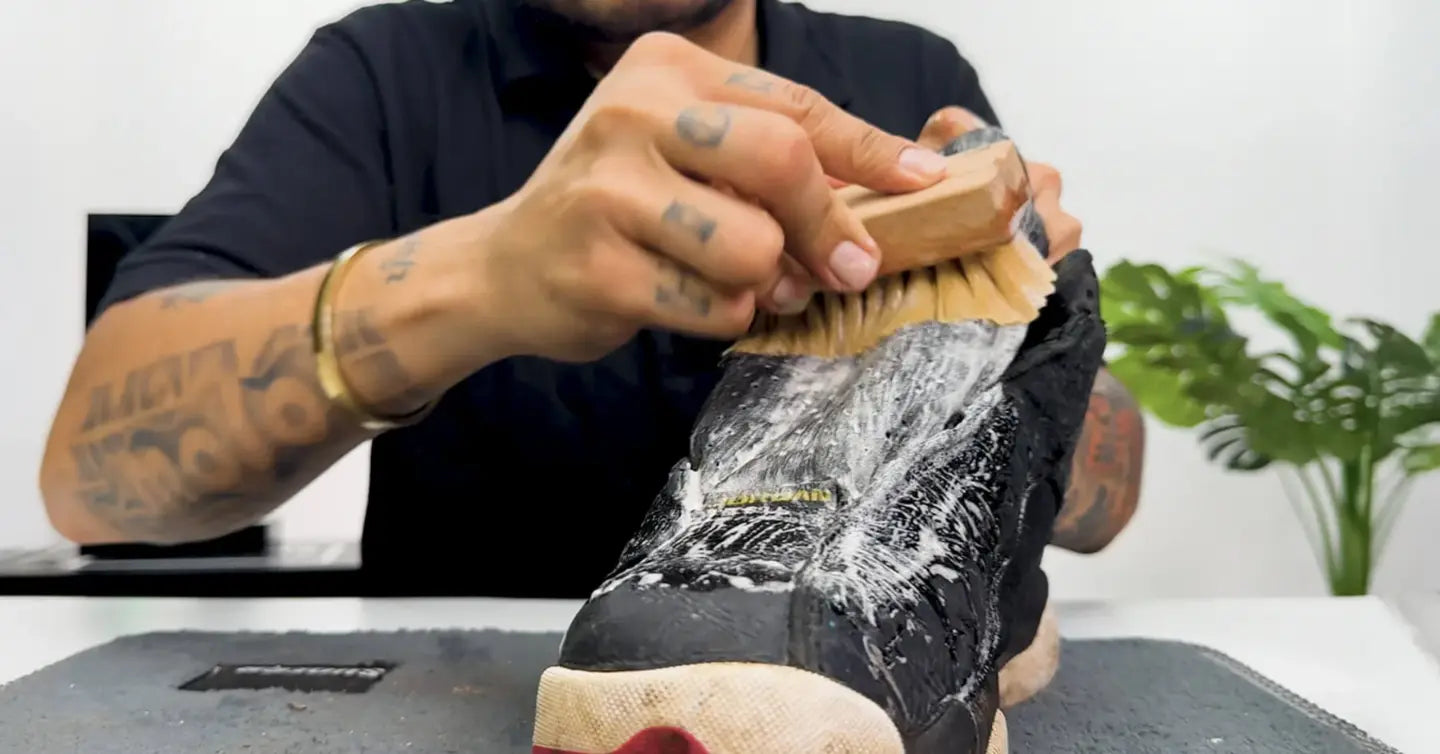
Mistake #4: Using the wrong cleaning tools
Cleaning your sneakers is one thing—cleaning them with the right tools is a whole different game. One of the most common mistakes we see? People using the wrong type of brush for the material they're cleaning.
You might think any brush will do, but using the wrong one—especially something too stiff—can scratch, fray, or even tear your sneakers.
Not all brushes are the same—here’s why it matters:
Different sneaker materials need different levels of care. The different brushes are for different part of the shoe
- Soft-bristle brush - Best for materials like mesh, knit, suede, leather, and canvas and generally used to clean the uppers of the shoe. It gently lifts dirt without damaging the fibers.
- Medium-bristle brush - Ideal for cleaning the midsoles. Tough enough to remove grime, gentle enough to protect the finish.
- Hard-bristle brush - Made for outsoles and rubber. This one's your go-to for scrubing off dirt and mud from the bottom of your shoes.
Damage caused:
Imagine someone scrubbing a knit sneaker upper with a stiff bristle brush…
The result?
- Frayed fabric
- Pulled threads
- Permanent texture damage
Now picture that same sneaker cleaned with a soft-bristle brush. The dirt is gone, and the material stays perfectly intact.
How to use the right tools the right way:
1. Identify the material you’re working with (mesh, leather, suede, etc.).
2. Choose the brush that matches:
- Soft = Delicate materials
- Medium = General upper cleaning
- Hard = Soles and heavy-duty scrubbing
3. Apply your sneaker cleaner to the brush or dip your brush in the shoe cleaning solution.
4. Scrub in gentle, circular motions for full control and even cleaning.
5. Wipe clean with a microfiber towel.
Mistake #5: Skipping the drying process
You’ve scrubbed your sneakers clean, rinsed off the grime, and they’re looking fresh again. But here’s where a lot of people go wrong—they leave their sneakers damp, toss them in a corner, or worse, try to speed things up with direct heat.
Leaving your sneakers wet or drying them the wrong way can lead to all sorts of problems like:
- Mold and mildew buildup
- Unpleasant odors
- Material damage like warped midsoles, cracked leather, or yellowing from the sun
How to dry your sneakers the right way?
- Remove the insoles and laces - This helps both dry faster and prevents odors.
- Stuff the sneakers with paper towels or microfiber towels - This absorbs moisture and helps the shoes keep their shape. If you have a shoe Shapeit, thet would be great too.
- Air dry in a well-ventilated area - Find a shaded, cool spot with good airflow. If you're in a hurry, place a small fan nearby.
- Avoid direct heat or sunlight - No hairdryers, no radiators, no window sills, Heat can wrap the shape and ruin the glue that holds your sneakers together.
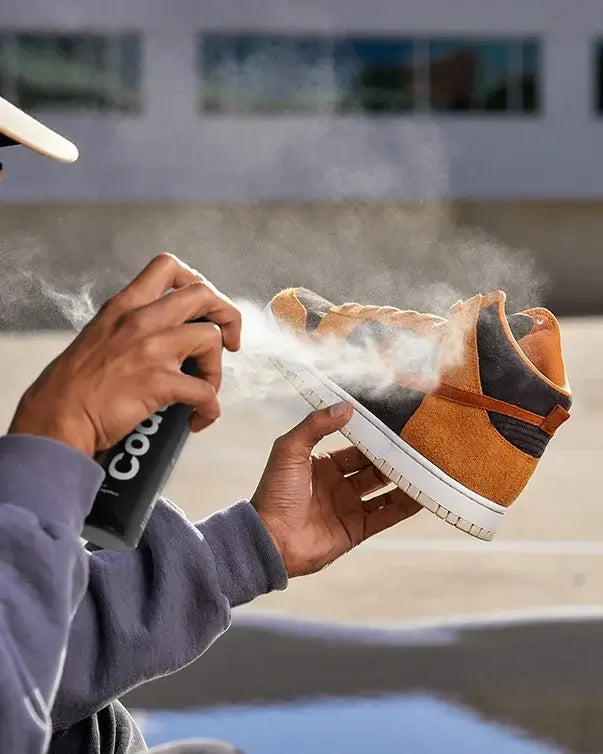
- Use a sneaker dehydrator if you have one - These are perfect for faster, safe drying without damaging the materials.
Conclusion: The right way to clean your sneakers
Proper sneaker cleaning is part art, part science. Avoid these common mistakes and you’ll keep your kicks looking brand new, longer.
Key takeaways:
- Stick to a quality sneaker cleaner.
- Use the right shoe cleaning brush for the material.
- Don’t forget conditioning, especially for leather and suede.
- Always dry your sneakers properly.
- Invest in a full shoe cleaning kit—it’ll save you time, money, and stress.
Need help choosing the right kit?
Check out SHOEGR’s shoe care essentials full range including all the cleaning products. From high-quality sneaker cleaners to soft and safe shoe brushes, we’ve got everything you need to keep your shoes clean and protected. Just get the SHOEGR Shoe Cleaning Kit and clean your sneakers with minimal effort.